Once you’ve accomplished keeping your hives going and feel you have enough excess frames of honey… what do you do now?
Here is a quick run-down of the basics of honey extraction…
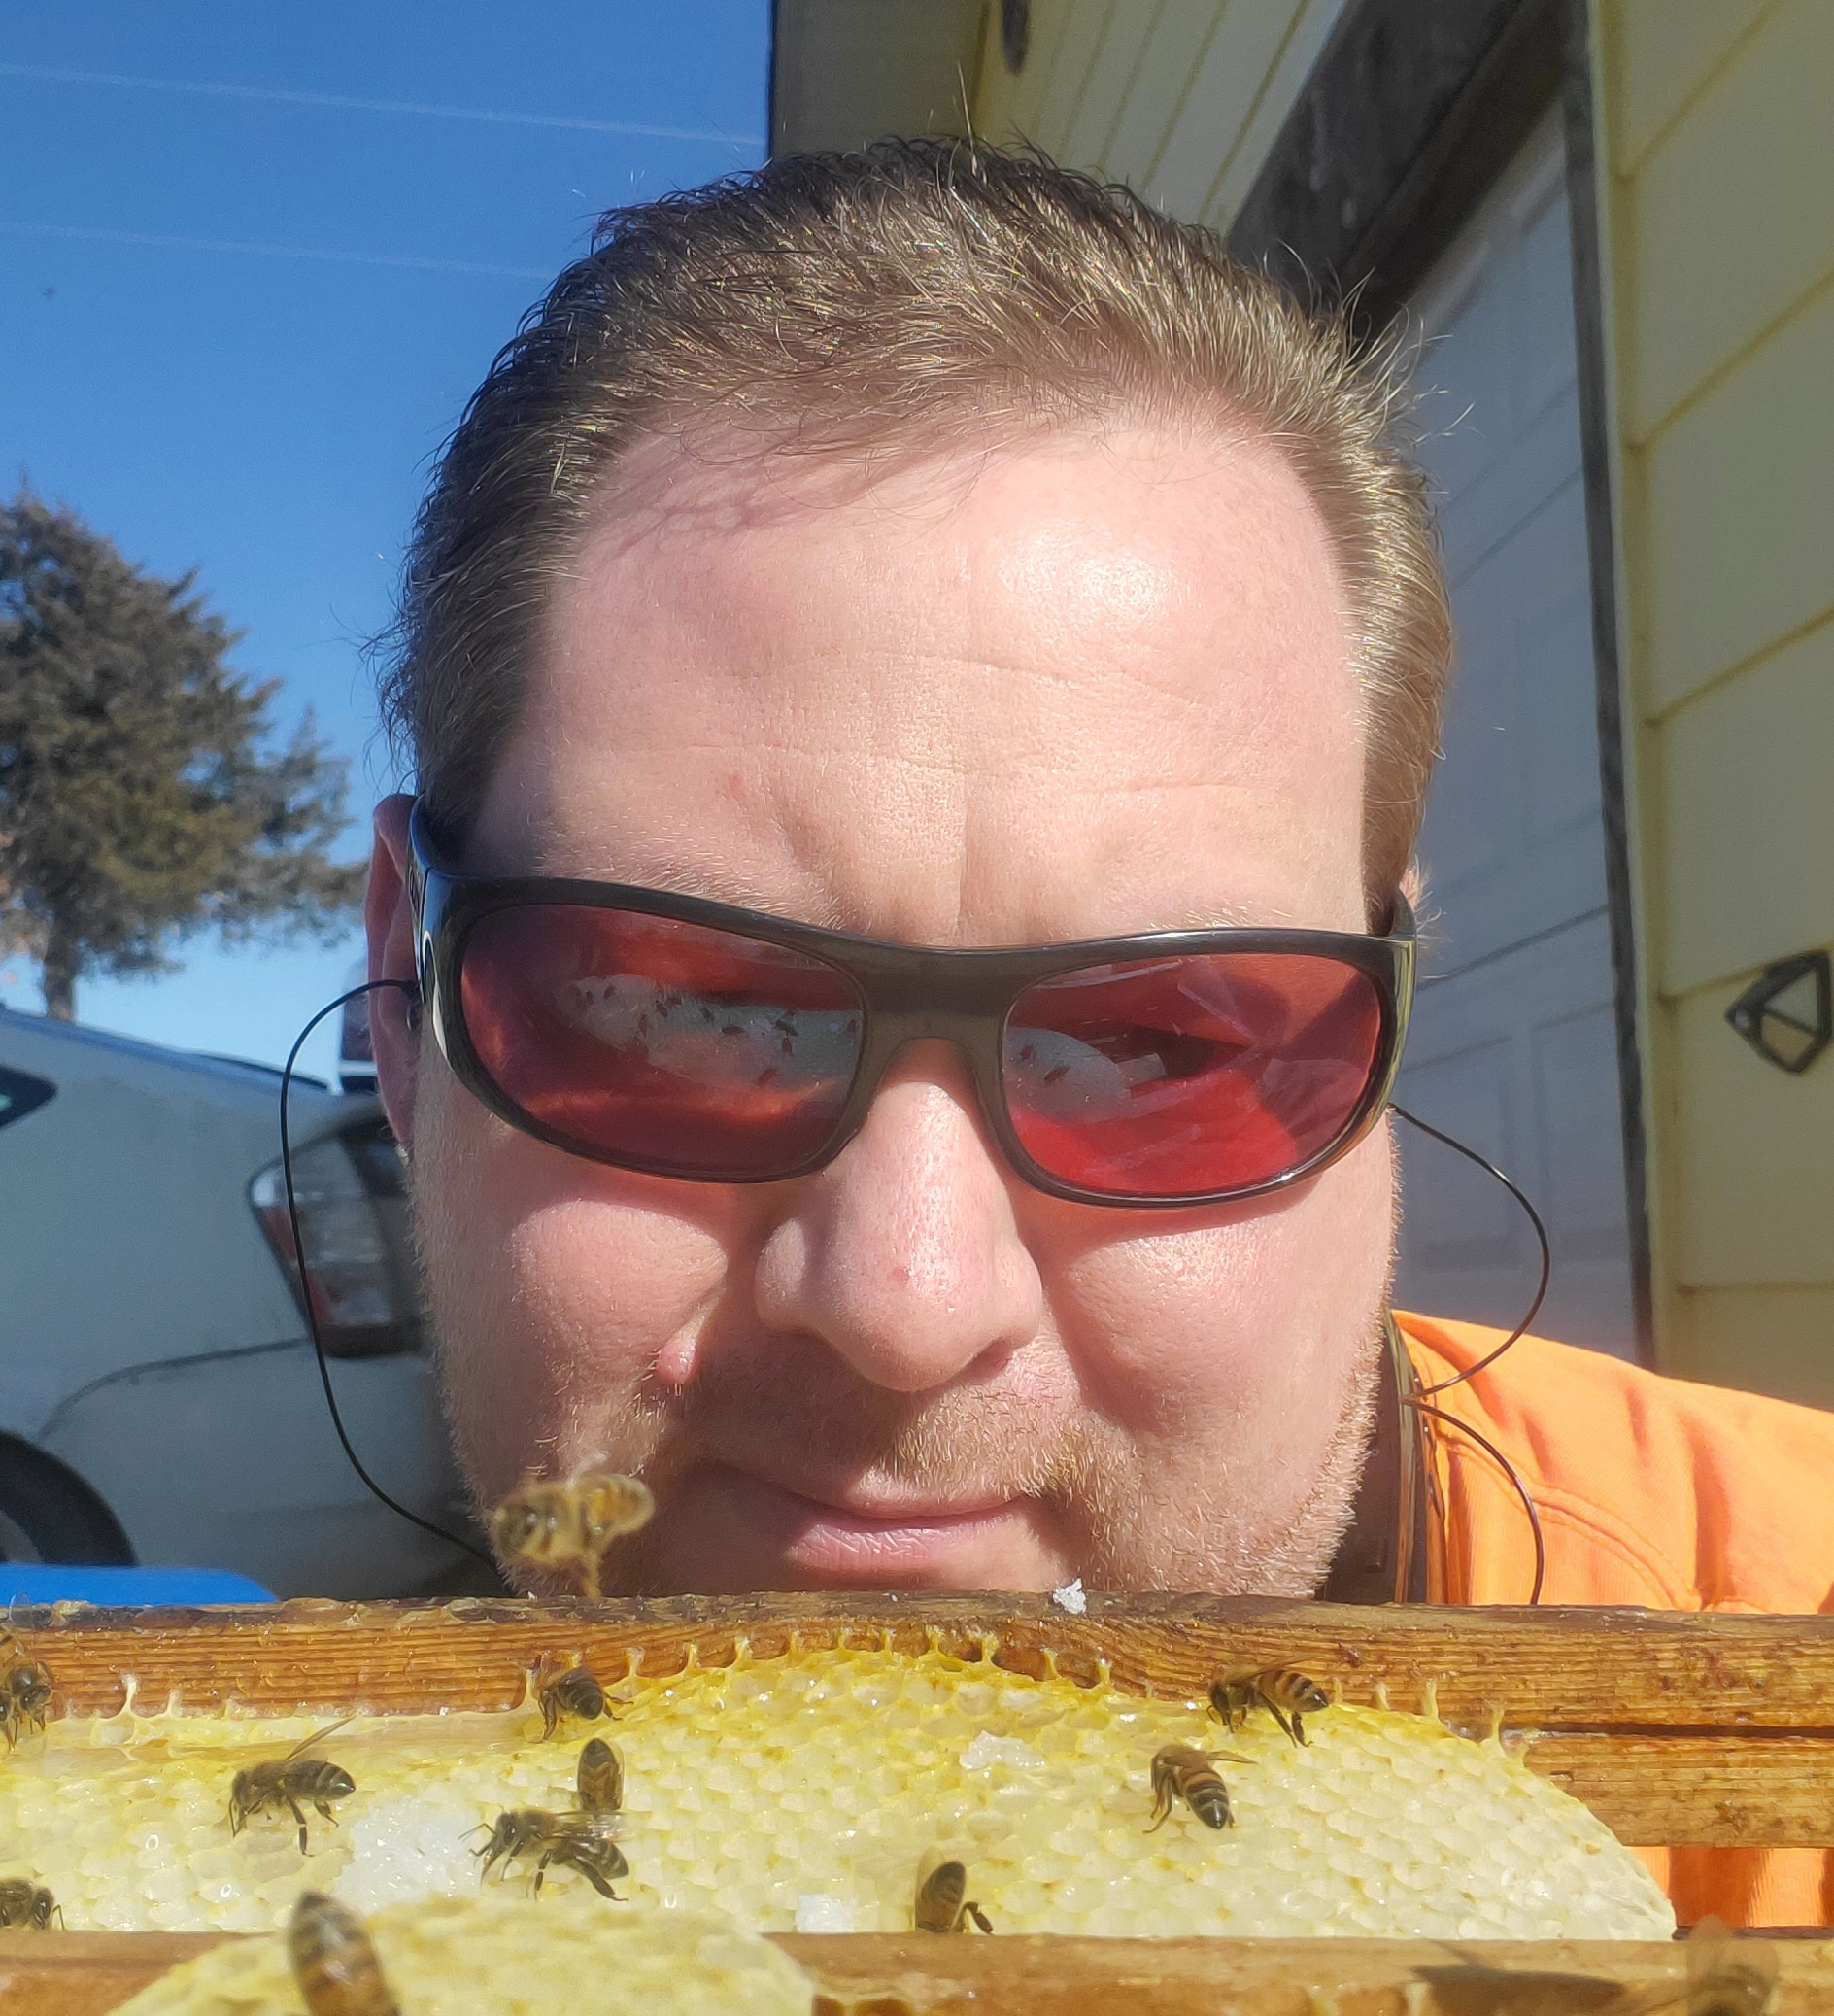
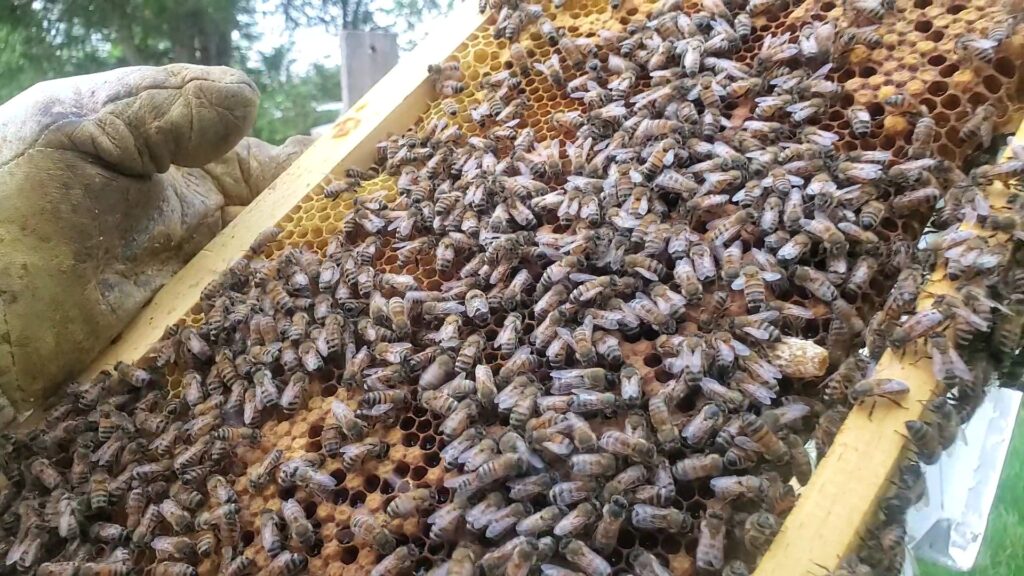
Pick the right frames from the hive
The time has finally come to pick those glorious, honey-filled frames from the hive! But which frames do you pick? And how do you get them away from the bees!
Using a supplement such as Honey Bandit or Honey-B-Gone will help! Spray a bit on a piece of felt or fabric and cover the top of the super (or deep if you’re going big!) and wait the advertised amount of time, about 5 minutes. The smell of the spray should drive most of the bees off of the frames, allowing you to grab and go! Having a storage tote nearby helps dramatically as the bees out flying around will smell the honey frame and navigate towards it.
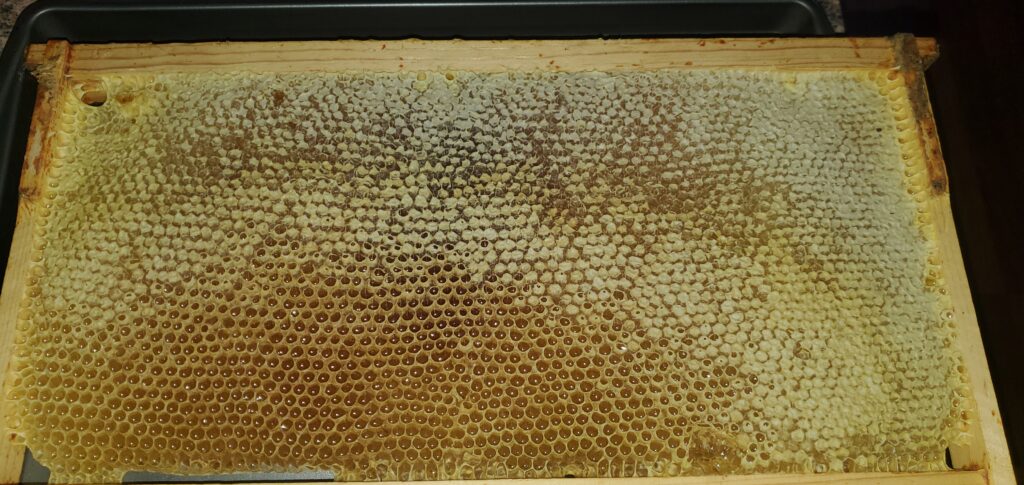
Ideally, frames from the super that are completely capped over are the first picks. But what if the frame is only about 80% capped? Or 60%? Can you still take it? Possibly. That is where testing the moisture content comes in.
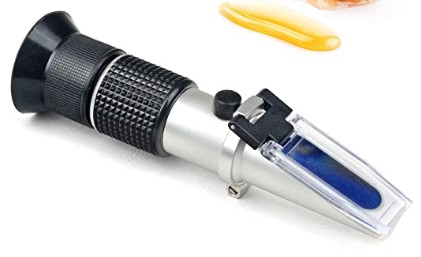
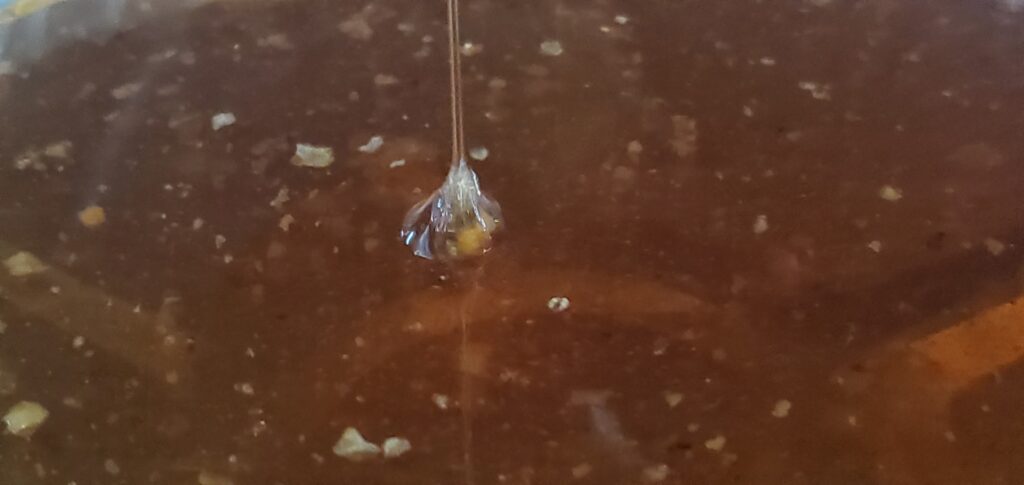
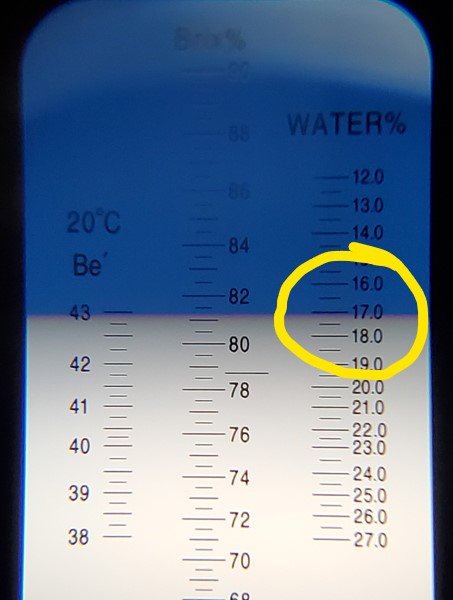
Testing for moisture
Grab a small sample of honey from the frame(s) in question and smear it on the testing area of a refractometer. Smash it down well with the lens cover and look into a well-lit area. The scale on the right will tell you what % of water is in your honey sample. Anything below 18% is good. 17% is better. 16% would be amazing. The lower the percent, the thicker and dryer the honey will be. If the water percent is too high, the risk of honey fermenting increases exponentially.
Setup for uncapping and extracting
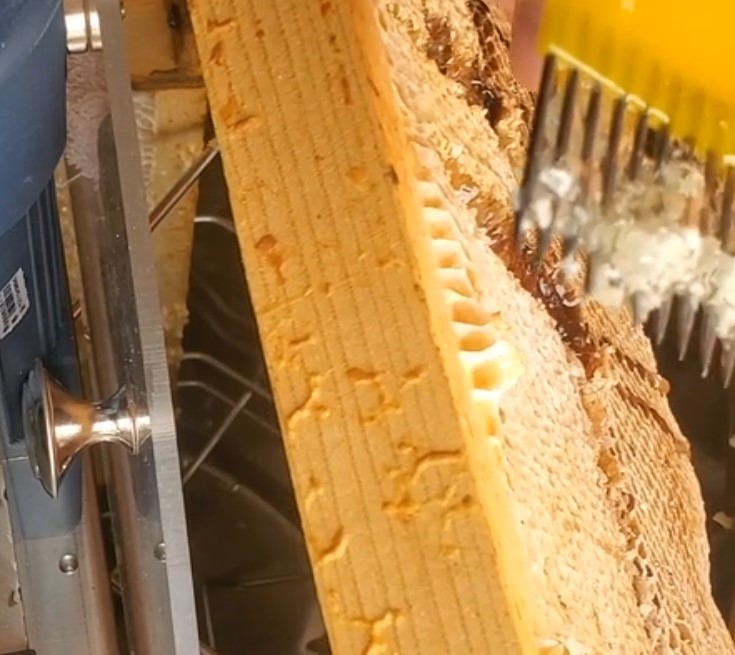
Now comes the sticky part… uncapping! You may want to do this near the extractor and you probably want to have a dedicated space for all of this. Preferably a space that’s easy to clean as those tiny drips of honey will make a mess quickly! Have some damp cloths nearby to help keep things clean. Use your favorite uncapping tool (rake, knife, spike roller, etc) and cut or puncture the capped honey cells. Then place the frame in the extractor for the next step.
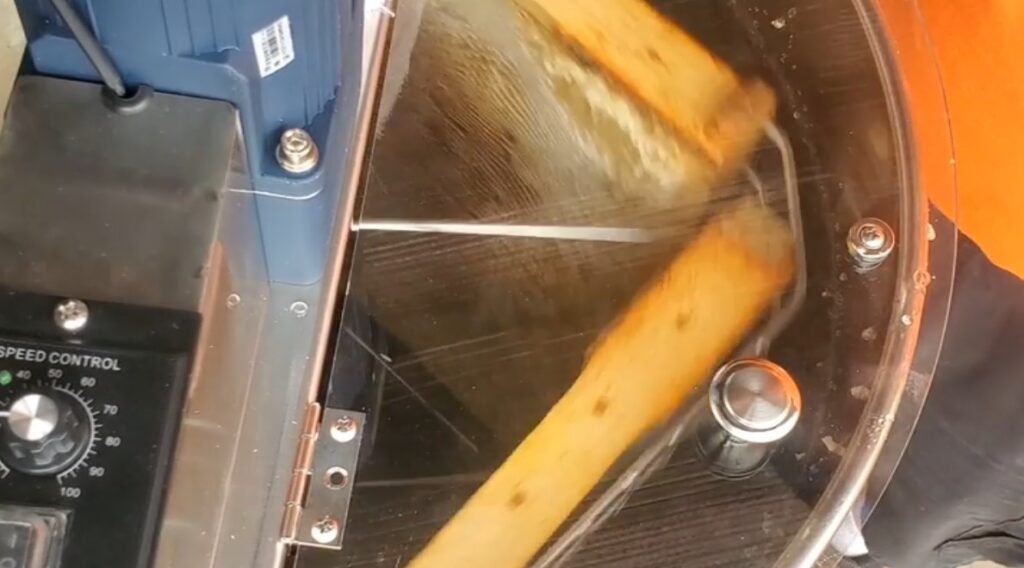
Using a honey extractor
While not all extractors are the same, they typically follow the same basic function… spin the frames around enough to fling the honey from the uncapped cells to the wall of the extractor tank, where the honey runs down to the basin and out the spout into the strainers and collection container. Typically I recommend only uncapping the side that will be facing the wall of the extractor tank, then after running the extractor and pulling the honey out of that side, pull the frames, uncap the other side, flip it over and run them through the extractor again for the flip side.
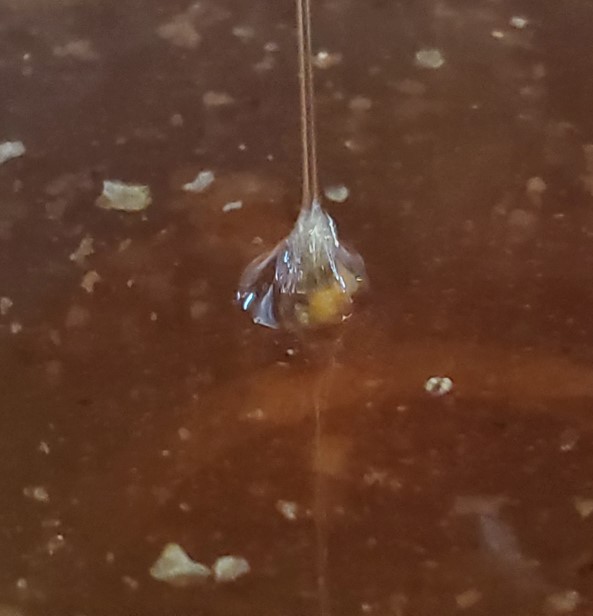
Straining the honey
As the honey flows out of the spout of the extractor, I strongly recommend having a strainer to catch the bits of wax capping and any other contaminates that may have been on the frames. The picture to the right shows the honey straight from the extractor with bits of wax cappings floating on top. You may need to scrape the layer of wax that collects on the screen to the side on occasion as it can considerably slow the straining process and cause honey to back up.
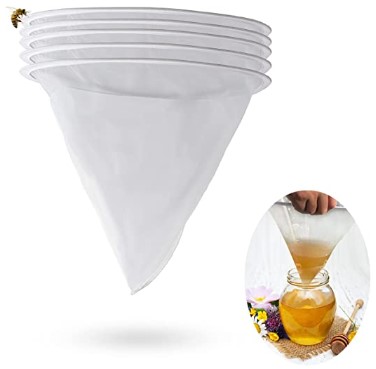
Secondary honey filtering
While you can run the honey through basic strainers and call it good, I like to run it through another mesh filter to catch the smaller bits of wax that made it’s way through the screens. There are mesh filters you can pick up from Amazon that will fit over a food grade 5 gallon bucket, so that all you have to do is pour the honey from the first collection container thru the filter where it will drip into the second bucket.
Let it set
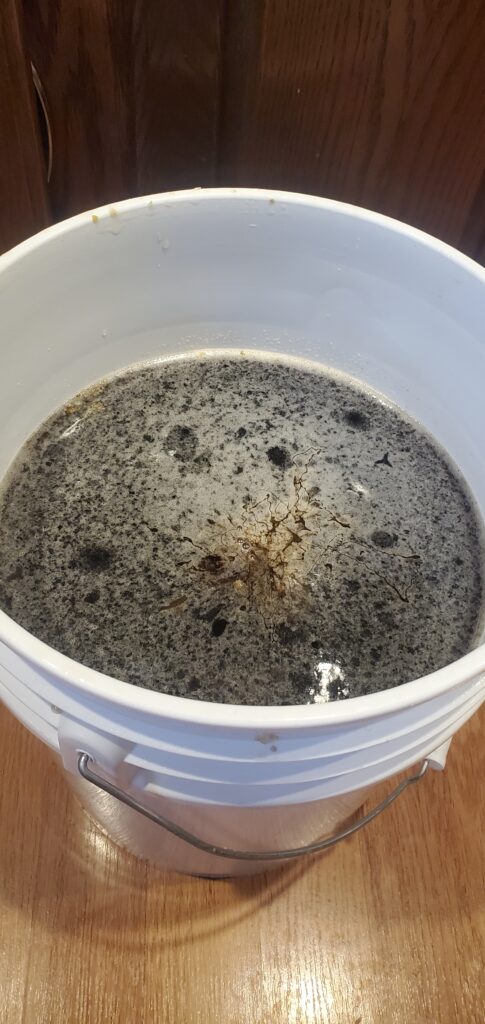
Something that surprises some people, especially first time extractors, is the white bubbles or foam that will appear on top of the honey. While there isn’t anything wrong with this foam, it doesn’t look very appealing. So, let the honey sit in the bucket for a while to let the foam separate. Keeping the honey in a warm-ish area (high 70s to mid 80s for the temperature, but not higher than low 90s) will help make the honey a bit thinner. Then, take a paper towel and gently lay it down flat on the foam. Give it a moment to adhere, then gently peel the paper towel up and a large amount of the foam and some honey will be stuck to the towel. I recommend taking that back outside and let the bees clean it up and take what they can back to the hives.
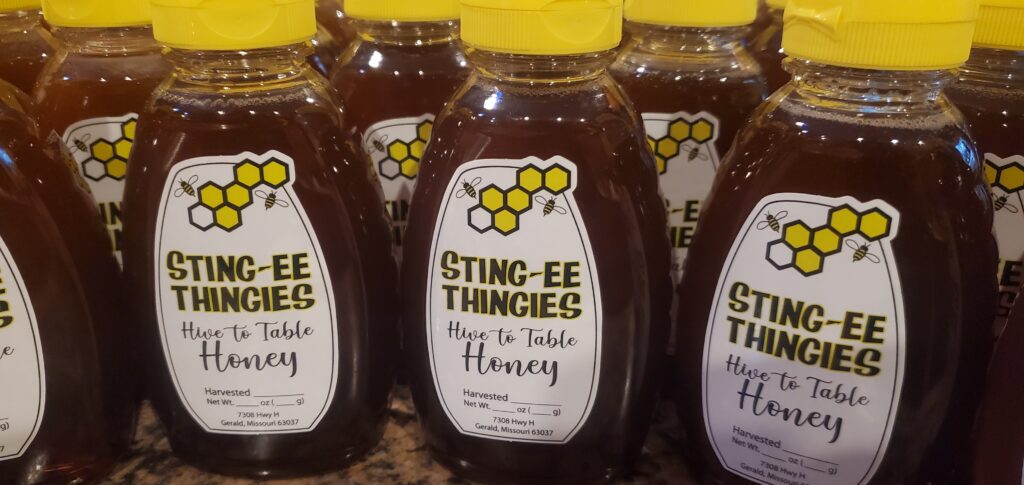
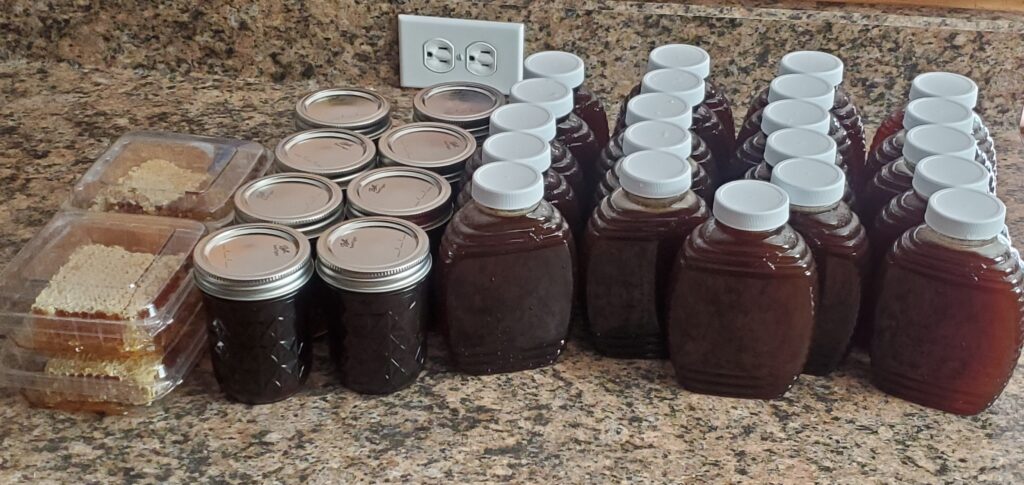
Bottle it up
Now it’s down to the final steps! It helps having a pour spout or honey gate on your bucket as it will make filling bottles easier. Place your container under the spout and gently open the gate. Keep an eye on the level of honey in the bucket as you want to avoid pouring any foam remnants into your bottles.
Labeling
After getting your bottles filled, now is the time to label them! You can opt to print your own labels with sticker paper purchased from the store and printed at home, or get some generic preprinted labels from one of the beekeeper supply companies, or you can use a sticker company to have them professionally made… it’s all up to you! Just make sure the label has the following information if you plan on selling it:
- Your name / company name & address
- Weight of the honey in both ounces and grams
- Date the honey was harvested